Yesterday was the 7th annual lefse making day for my family. Lefse is a big deal for us. A big part of many family histories comes in the tradition of foods. For us with Norwegian roots, lefse is a delicacy. My dad was one of three boys, so there wasn’t a daughter to learn the art of lefse making at a young age and carry down the skill. But several years ago, long after my paternal grandma passed away, my mother, who is not at all Norwegian, decided that we needed to learn how to make it. So she and my dad, who had a little experience watching it made as a kid, decided to figure out how to do it. And then seven years ago, they decided that the rest of us needed to learn as well.
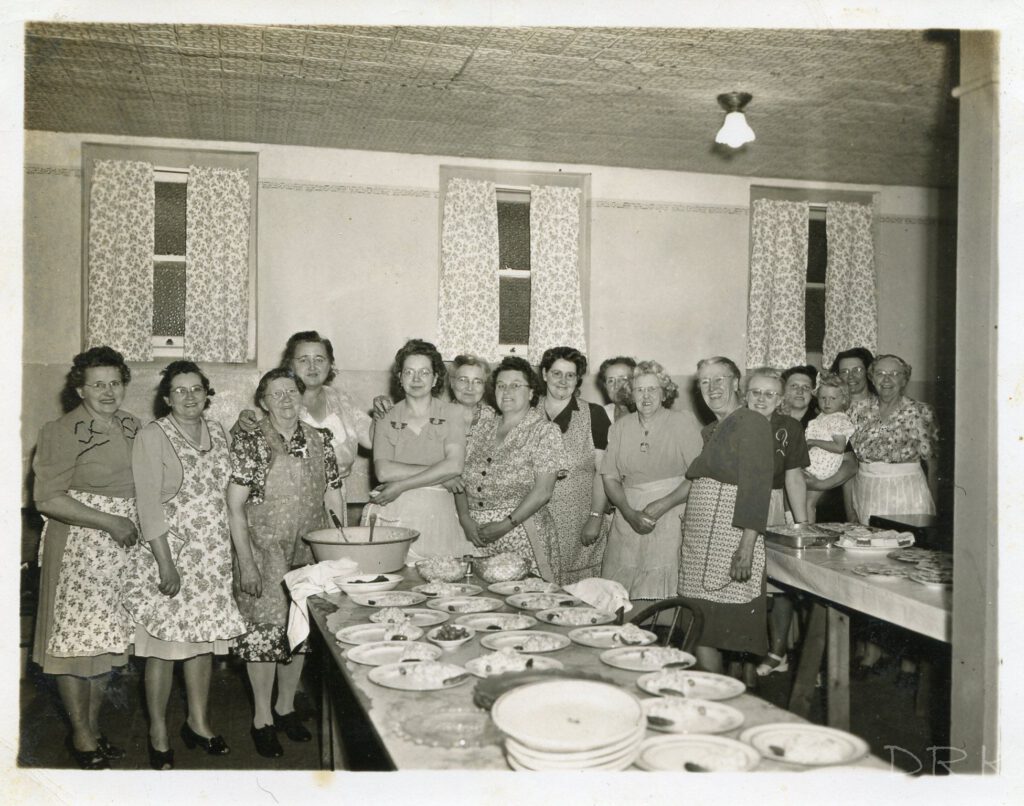
If you are asking, “what’s lefse?” then you clearly are not from around here and likely have no Scandinavian roots (that you know of anyway – those Vikings were prolific). Wikipedia defines lefse as, “a traditional soft Norwegian flatbread. It is made with leftover potatoes, flour, butter, and milk or cream. It is cooked on a griddle. Special tools are used to prepare lefse, including long wooden turning sticks and special rolling pins with deep grooves.”
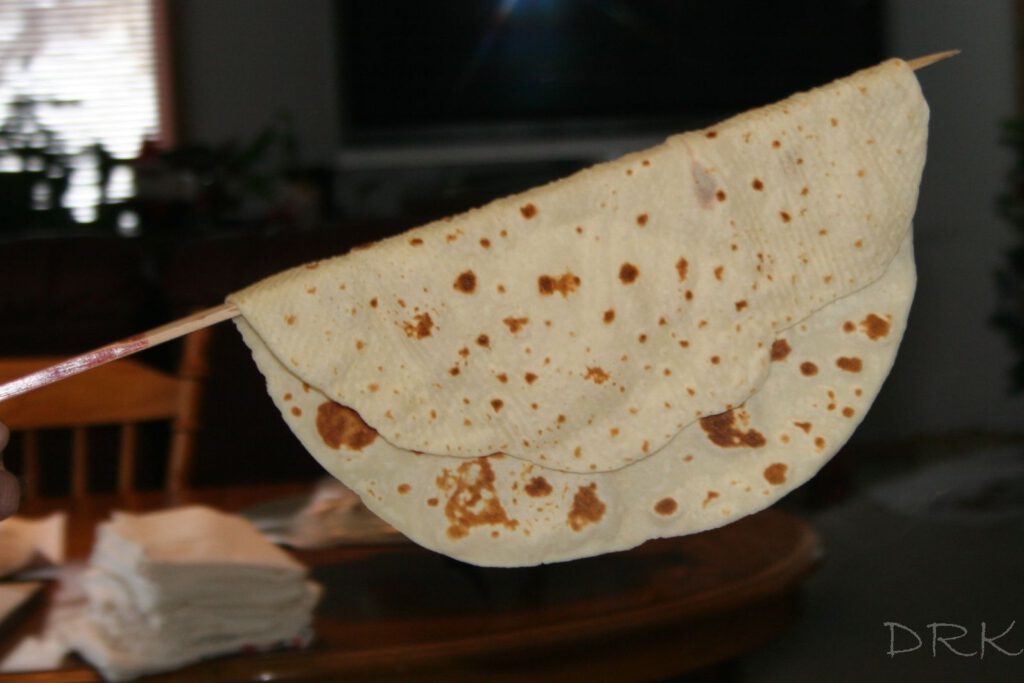
I would disagree with their definition slightly as we never use leftover potatoes. Mom, with help from Dad, boils and rices fresh potatoes ahead of time and brings them chilled to the big lefse-making day. I would also disagree with how that definition downplays the deliciousness of lefse.
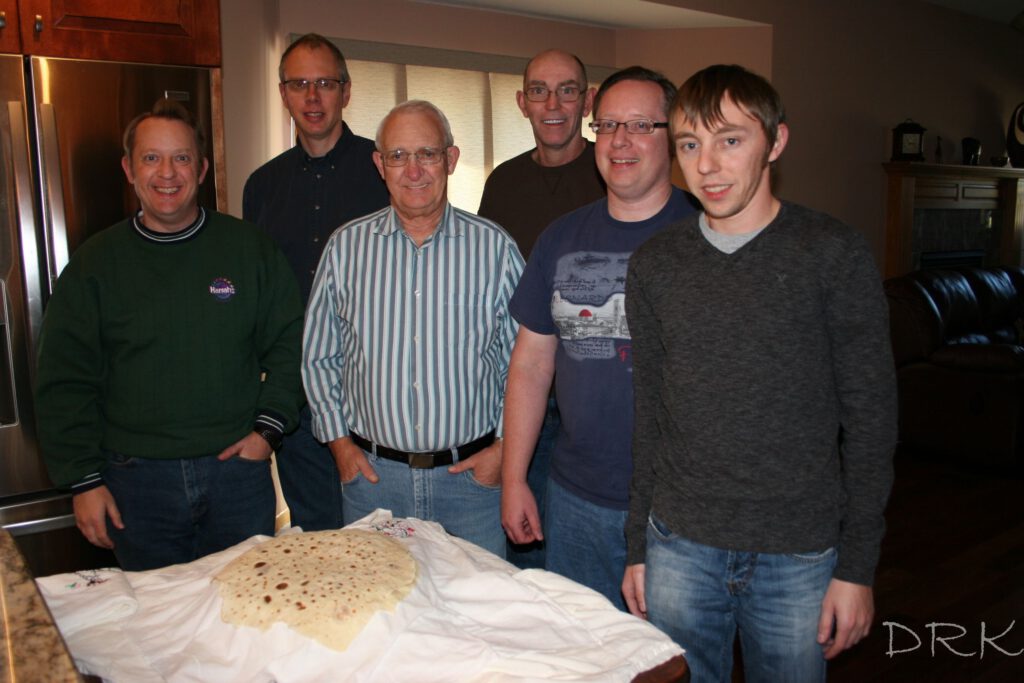
Anyway, back in 2009, we assembled and got a lot of instruction from Mom and Dad. Most of us were eager learners and we were we quickly rolling out lefse after lefse. Since then, we’ve gotten together every year to make more. Due to schedule conflicts and kids away at college, the work crew changes from year to year, but it really is an example of “the more the merrier.” As with most family traditions, they wouldn’t continue if it wasn’t fun to do them. Though it is hard work, we really enjoy getting together to make the lefse.
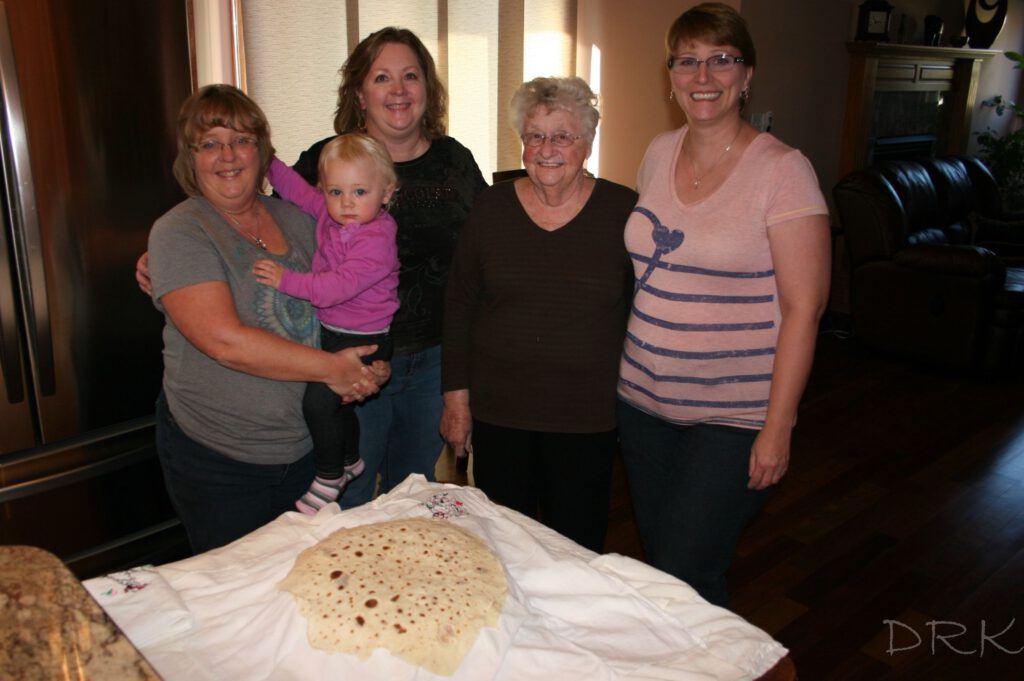
There are several variations on the recipe and the process to make it, but here is a quick overview of our family lefse-making process.
Preparations
Potatoes
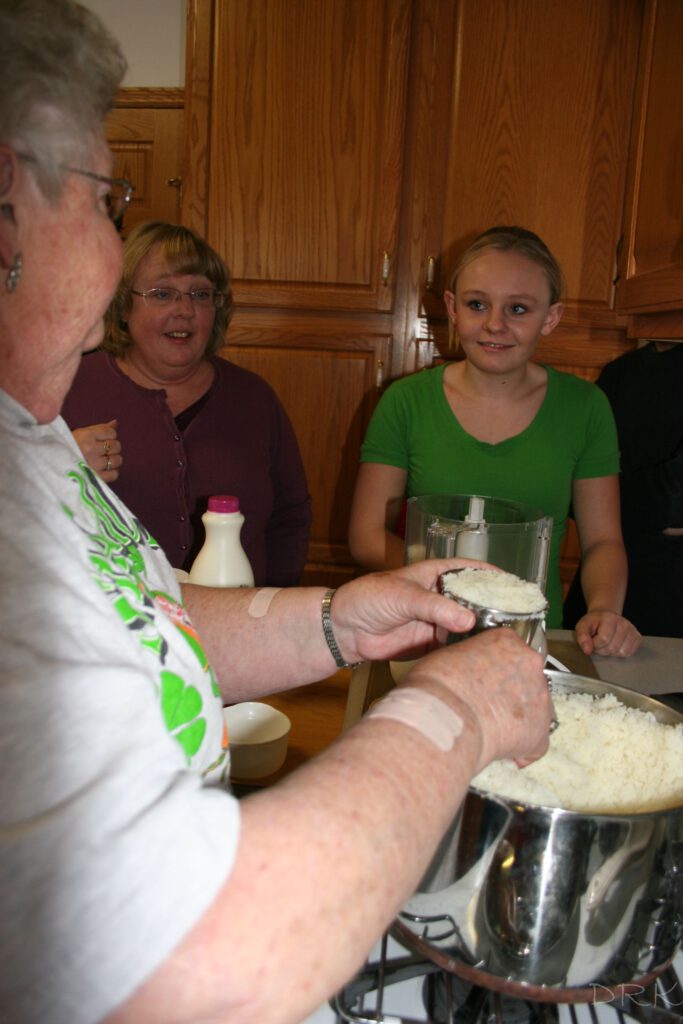
As mentioned earlier, the potatoes need to be prepared ahead of time. Fresh potatoes are boiled and then put through a ricer. They are then chilled and kept chilled until used.
Rolling surface and rolling pin
The dough is rolled on a special cloth covered board. So before we begin we have to put the cloth on the board and cover it with flour. One does not want their dough to stick to the cloth as that may cause the use of bad language, so a lot of flour should be worked into the cloth before beginning and then again between lefses.
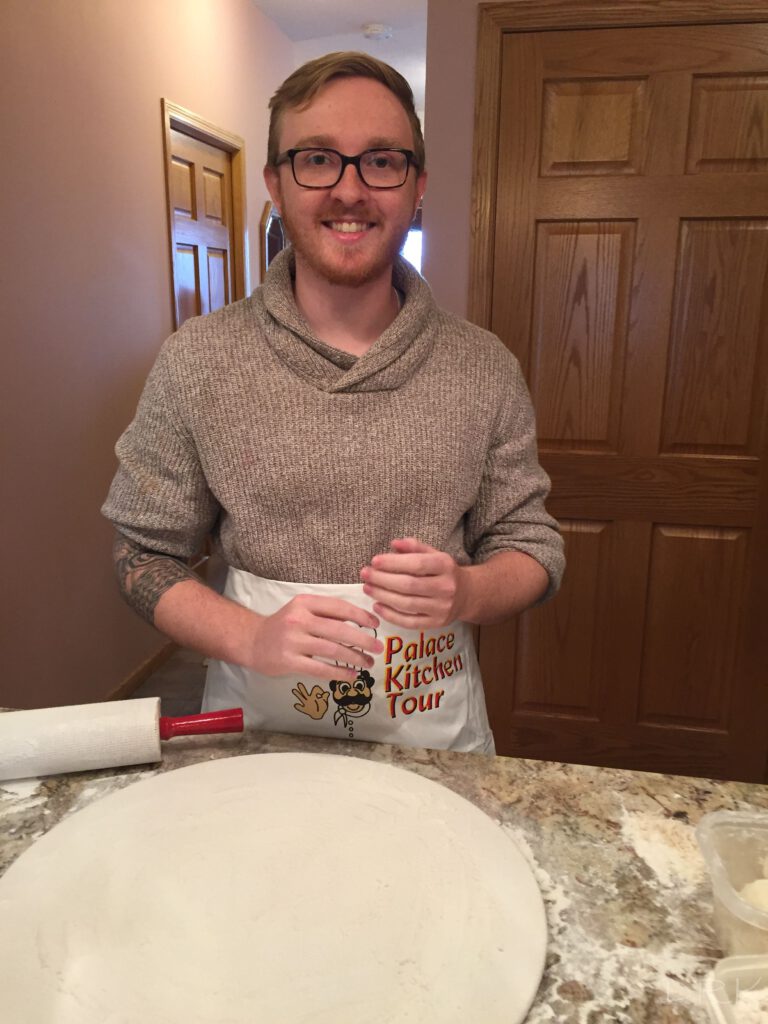
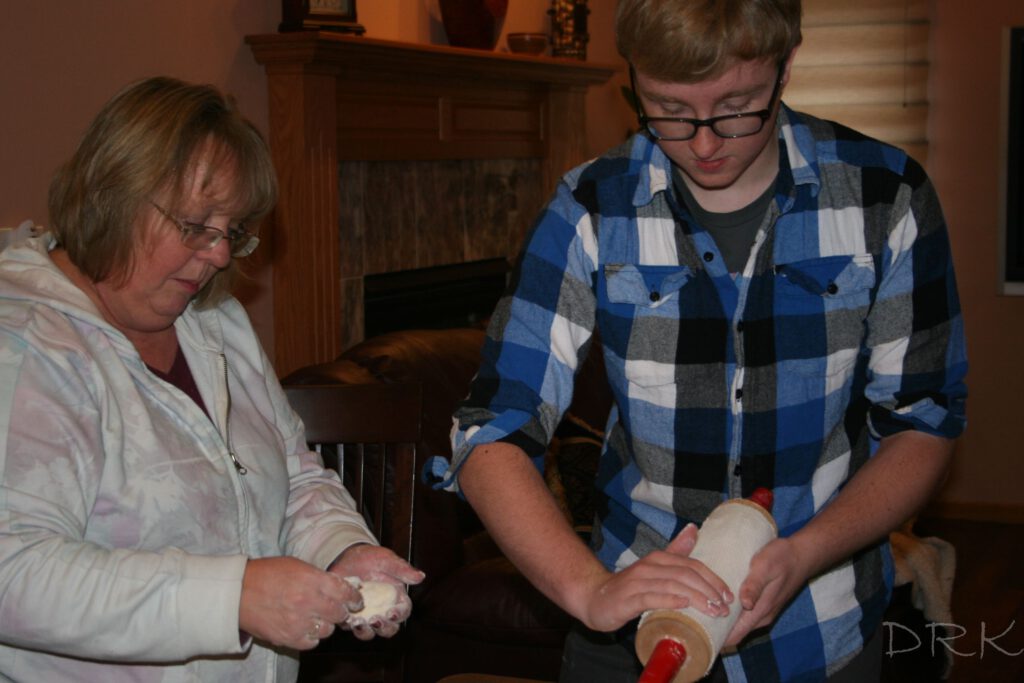
The rolling pin also has a cover and also needs to be coated in flour to avoid sticking. We also found this year that a bit of vegetable oil can do wonders to silence the sound of a squeaking roller.
Griddle
A special lefse griddle is used to cook the lefse at 500°F. It takes a while for the griddle to get hot enough, so it needs to be turned on early.
Make the Dough
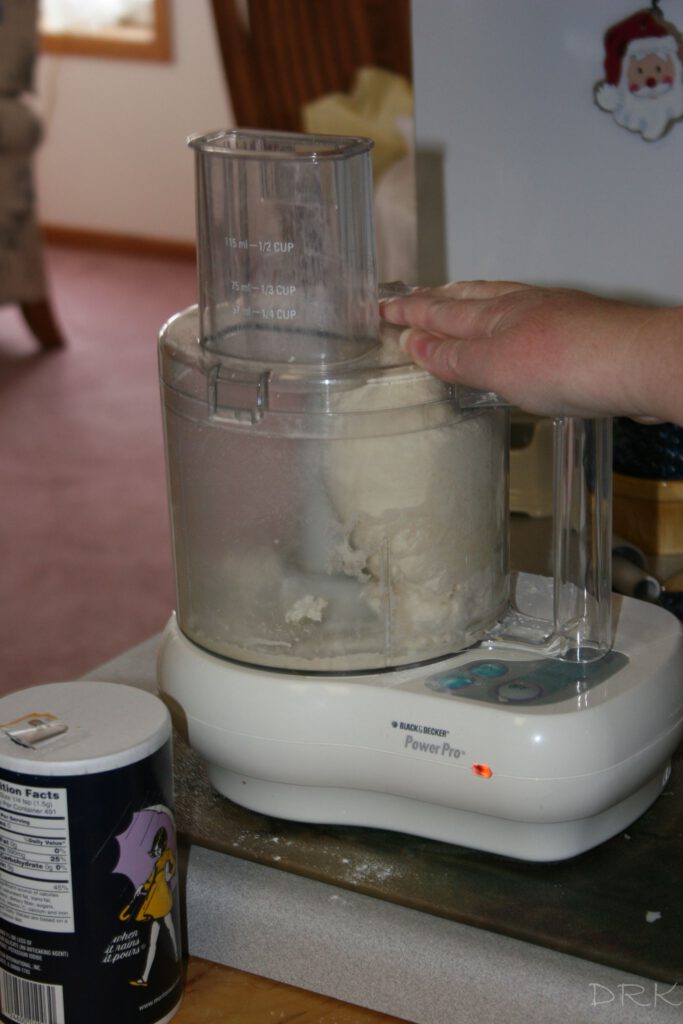
My grandma did not have this luxury, but we mix the dough in a food processor.
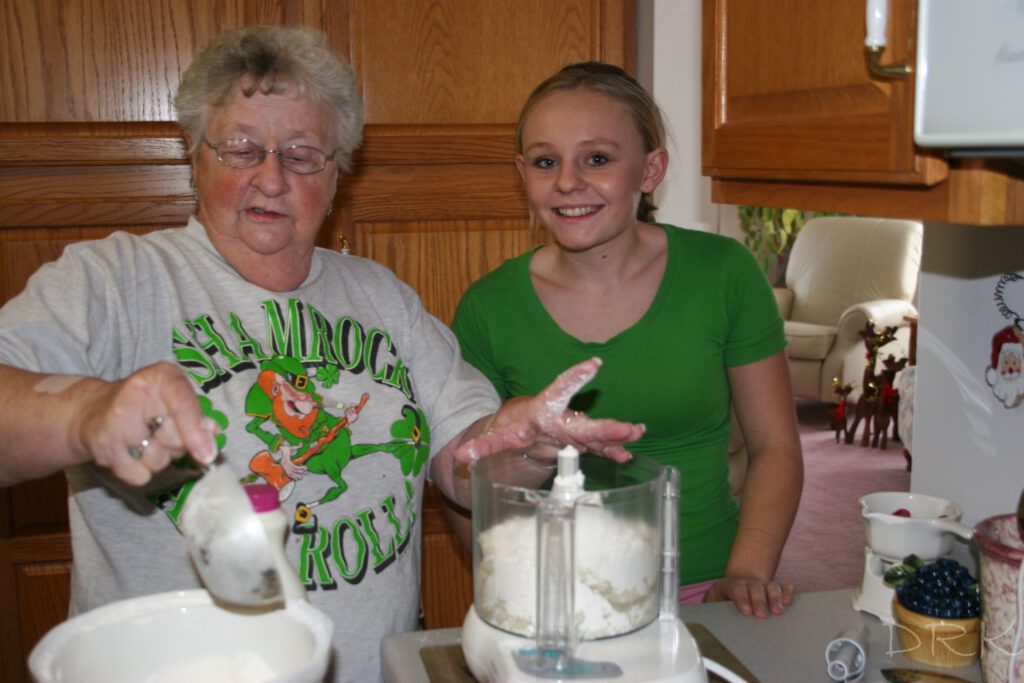
Ingredients:
- 2 cups riced potatoes
- 1 cup flour
- ¾ teaspoon salt (or a little less)
- 1/8 cup half-and-half
- 2 (generous) Tablespoons butter
Process:
- Turn on the food processor and let it mix until it forms into a ball.
Roll the Lefse
Each batch of dough can make eight pieces of lefse, so we start by dividing the dough into eight pieces. We’ve found that rolling each piece into a ball works well.
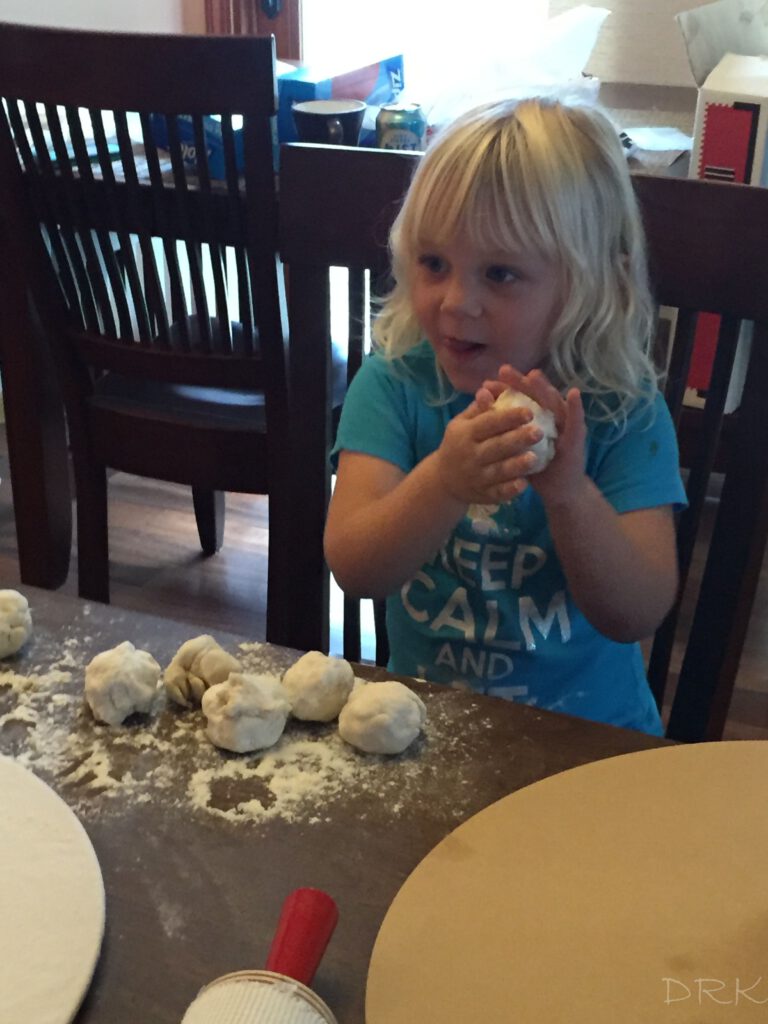
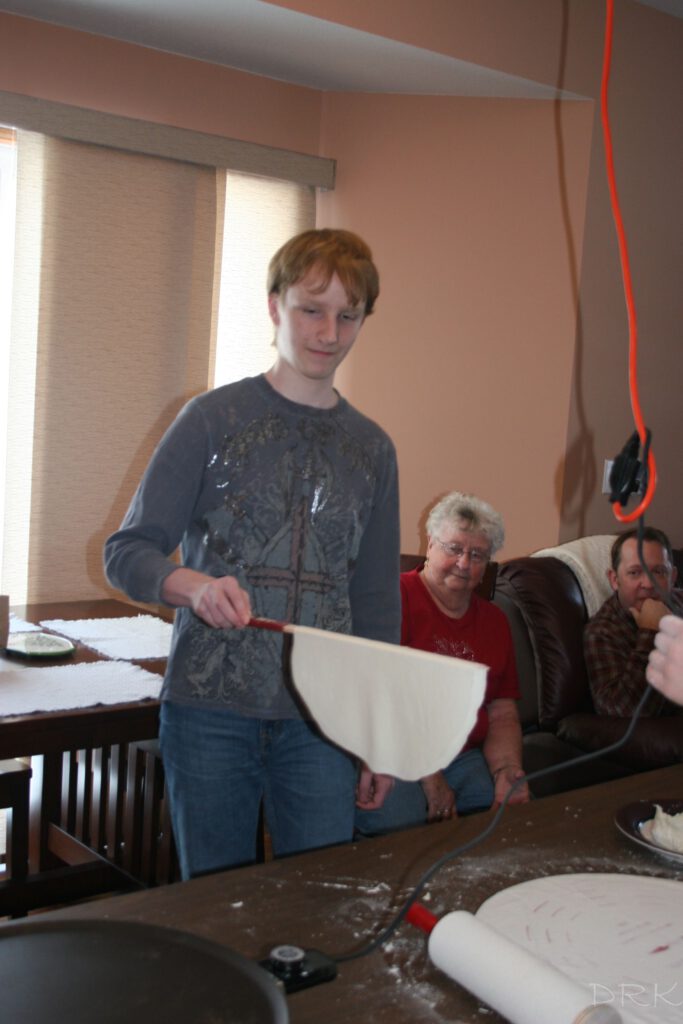
Then we take the covered rolling pin and roll the dough into a large circle. It takes a little practice, but most of us have been able to figure out how to roll the dough into a hole-free, paper-thin lefse. This is a lot like rolling out a pie crust, except that the lefse needs to be much thinner and we are working with dough that is mainly potato-based.

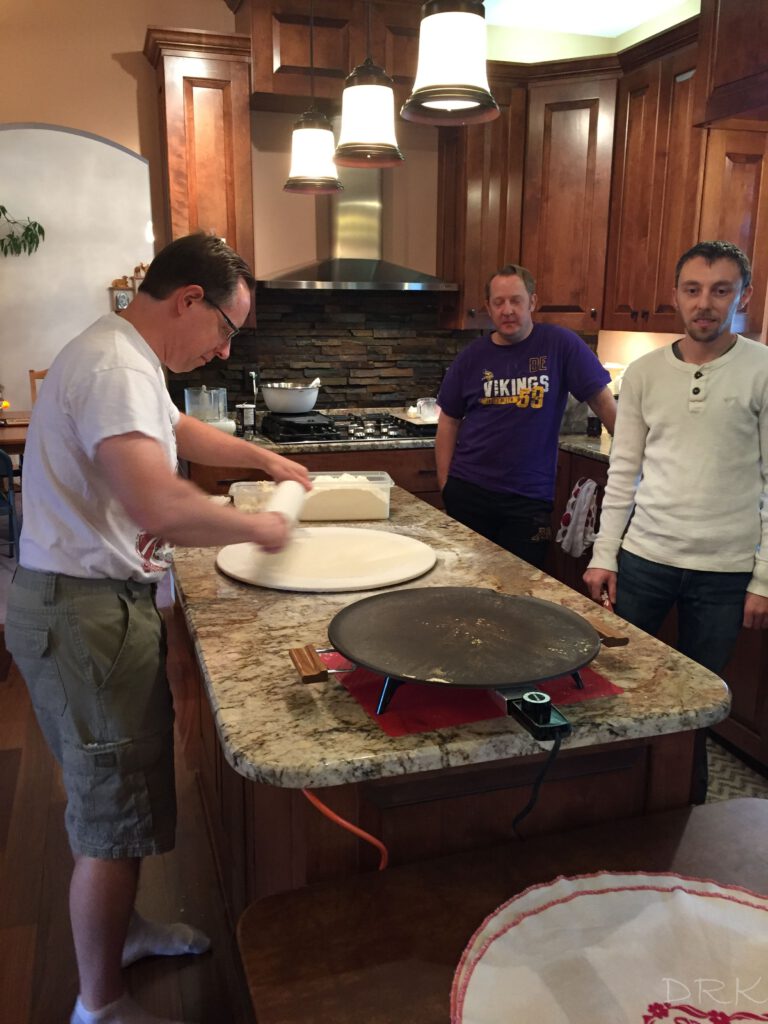
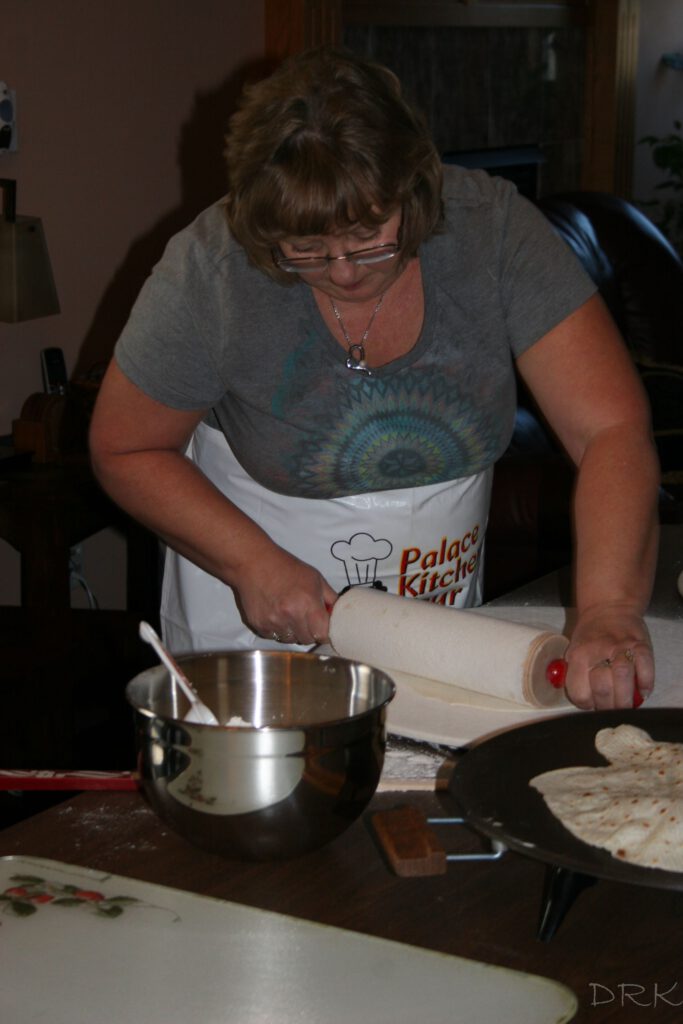
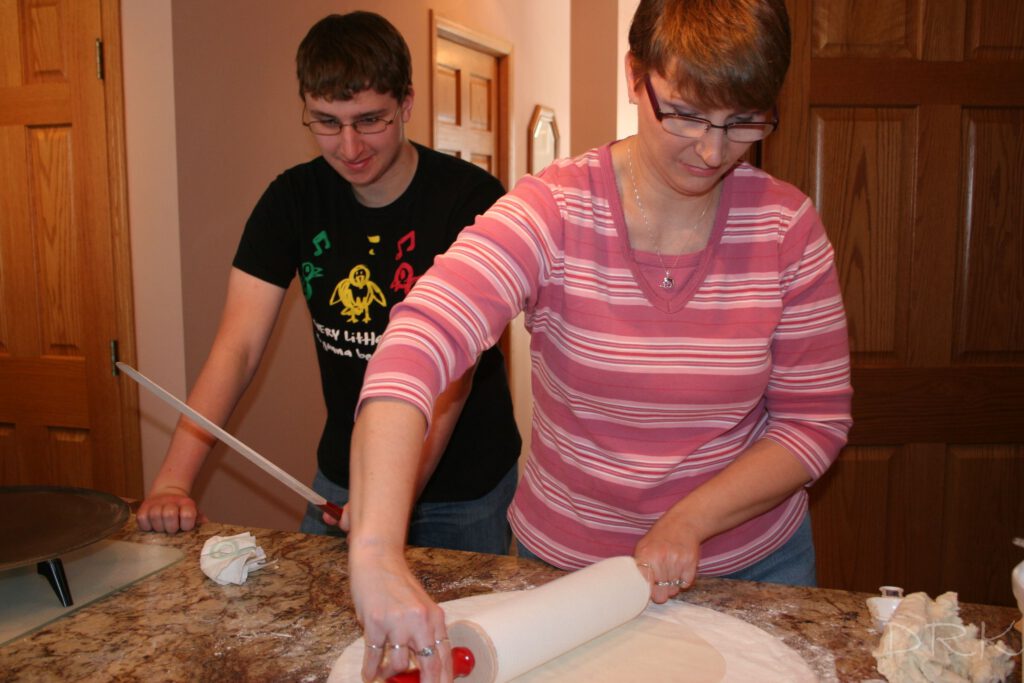
If you can read the writing on the cloth through the rolled lefse, you know you have done a very good job rolling.
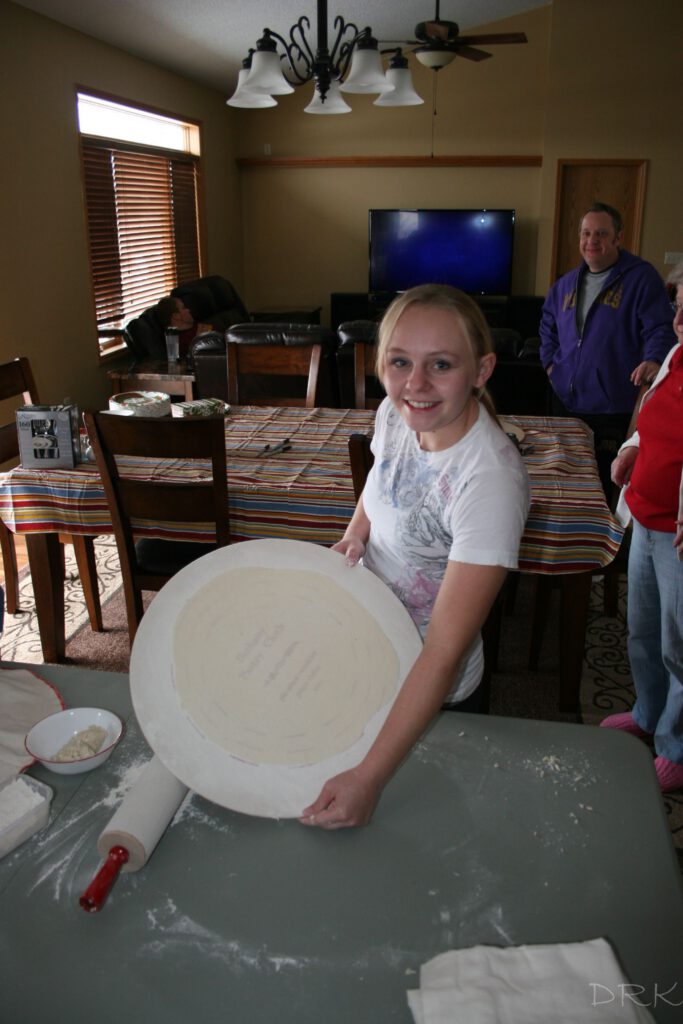
Sometimes snarky comments are welcome.
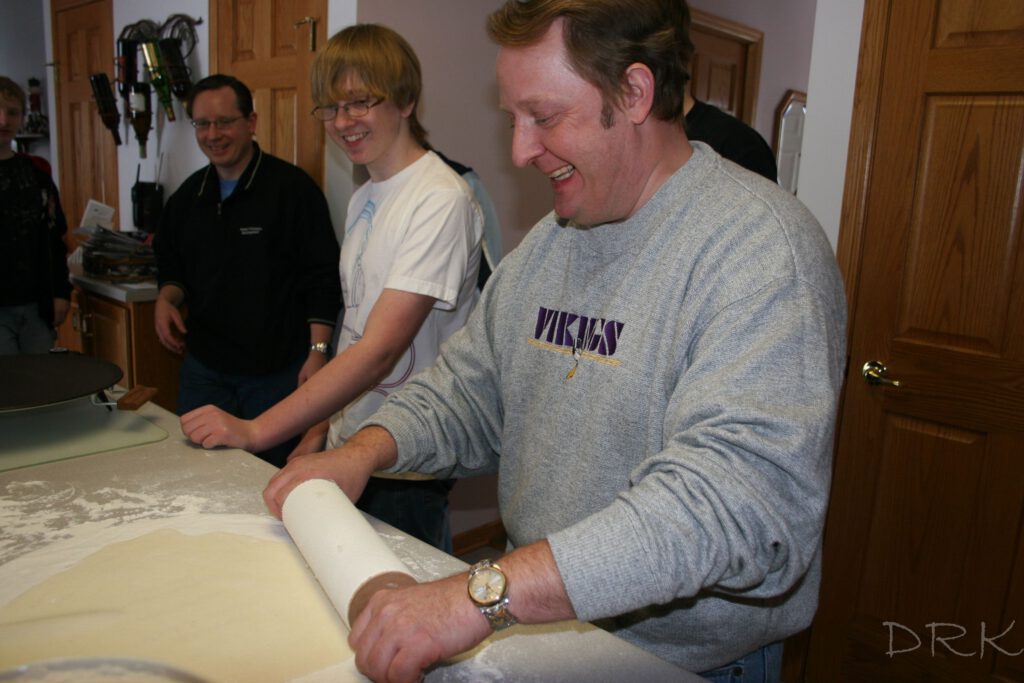
But sometimes unsolicited advice is not totally appreciated.
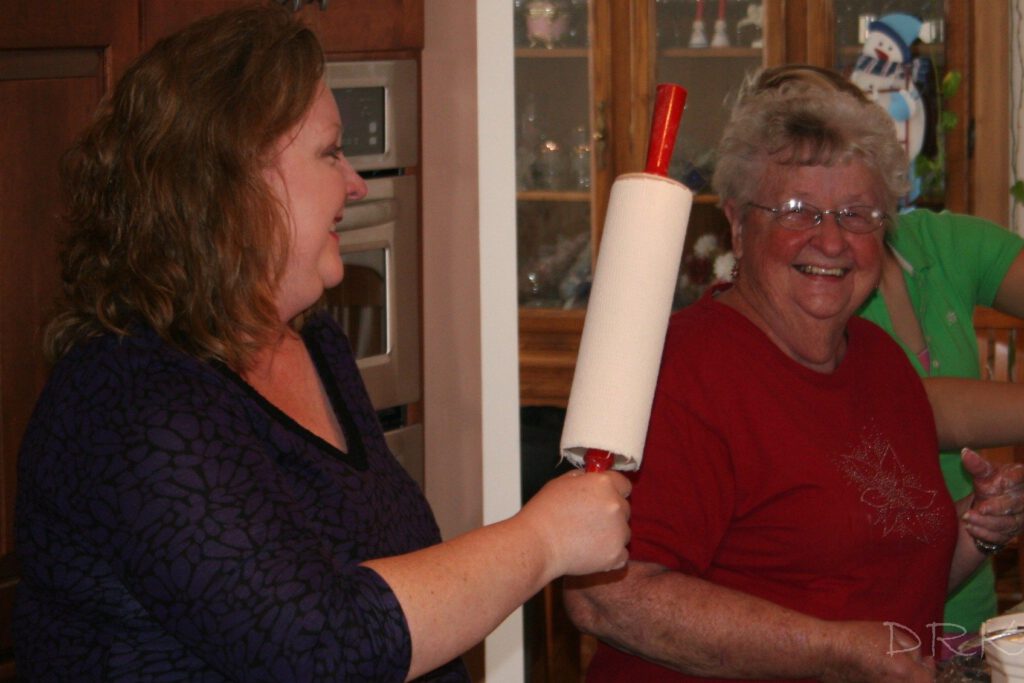
Cook the Lefse
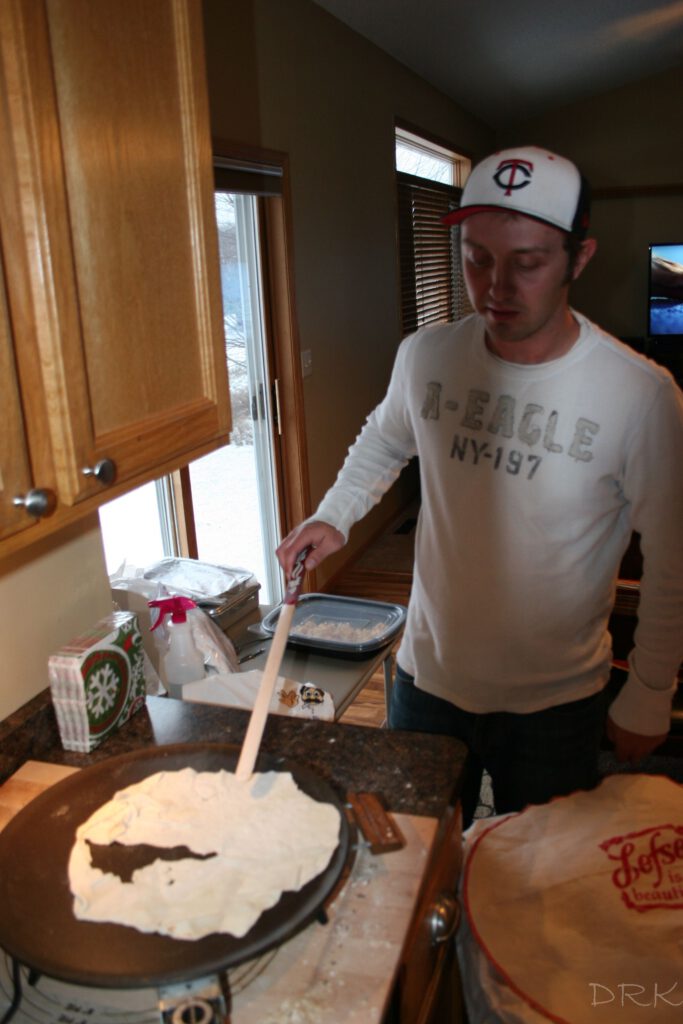
The lefse is carefully removed from the board with a special stick and moved to the griddle.
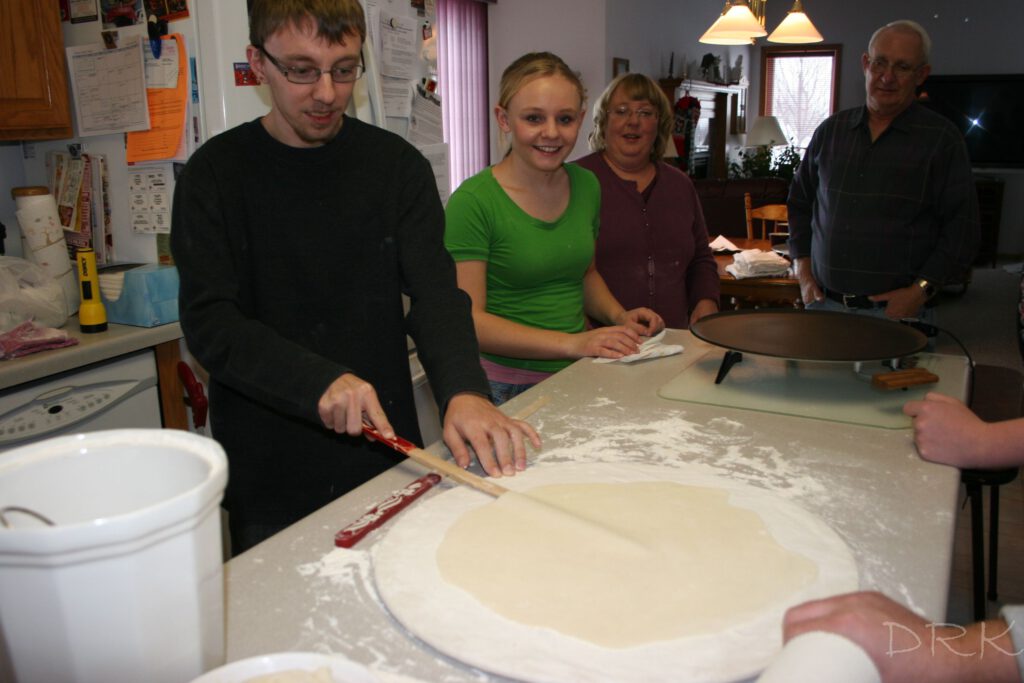
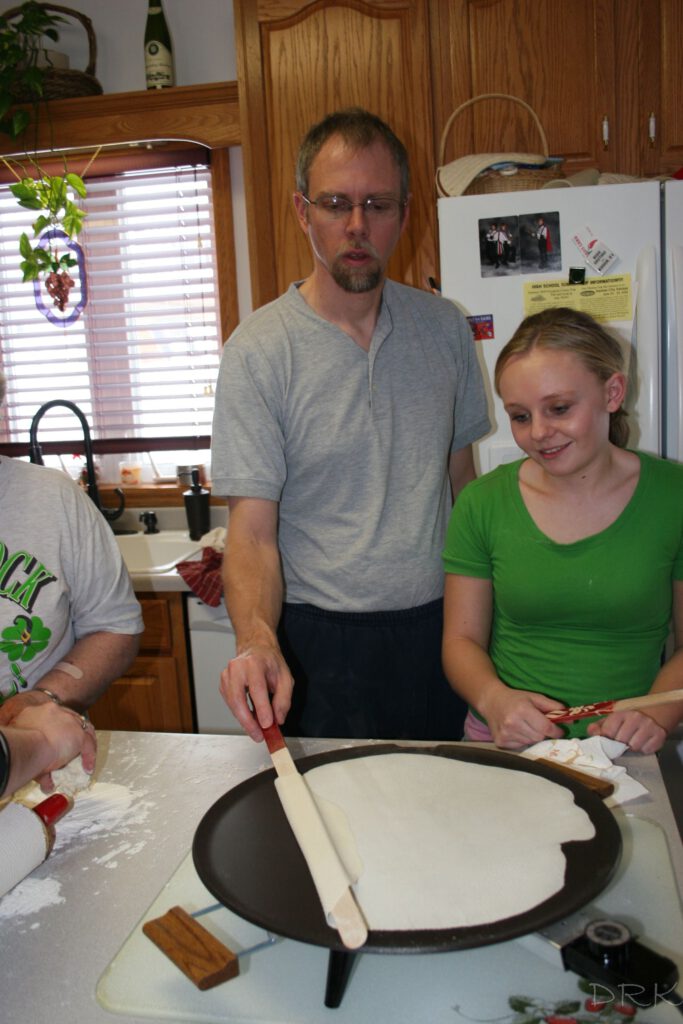
We have many family members who have become expert cooks. The main skill required is to not become distracted. We don’t want burnt lefse.
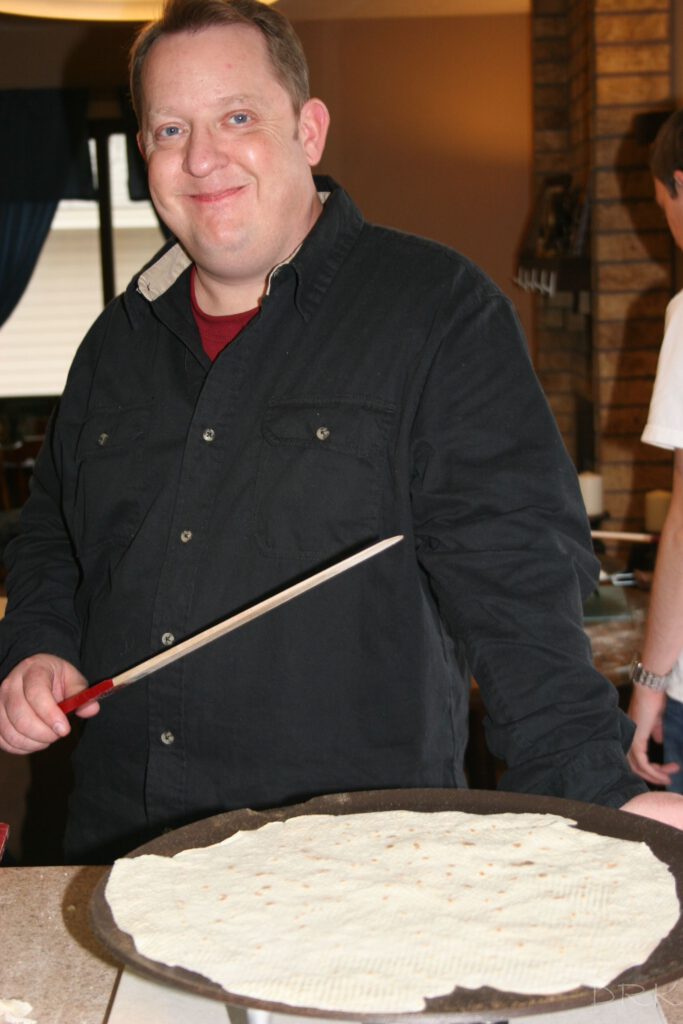
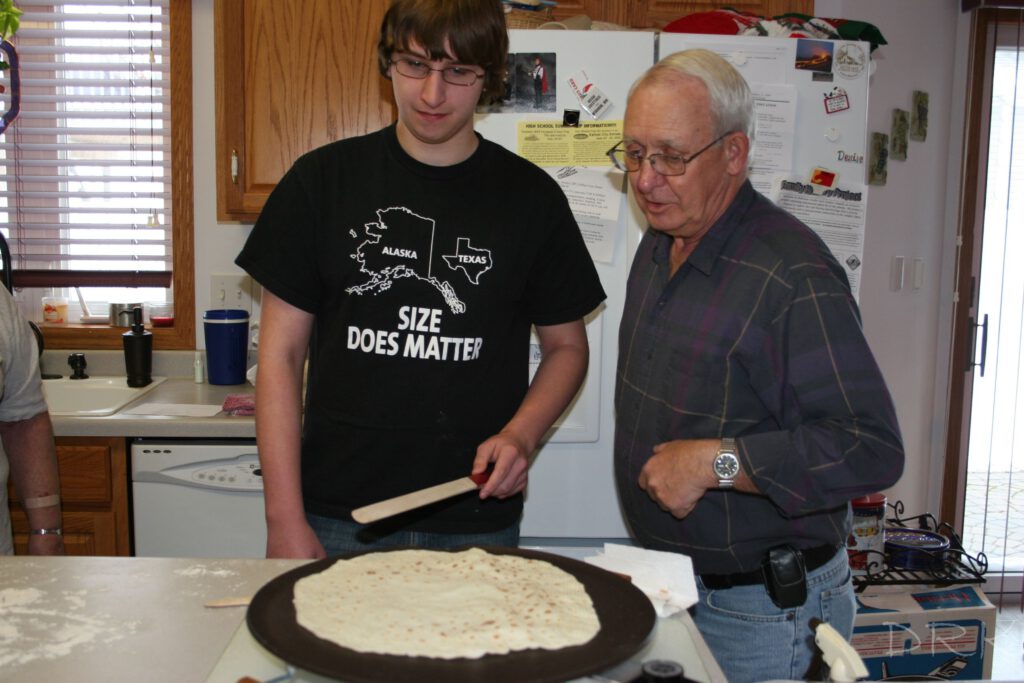
While it is cooking, the lefse sometimes forms big bubbles. It should always develop its characteristic brown spots.
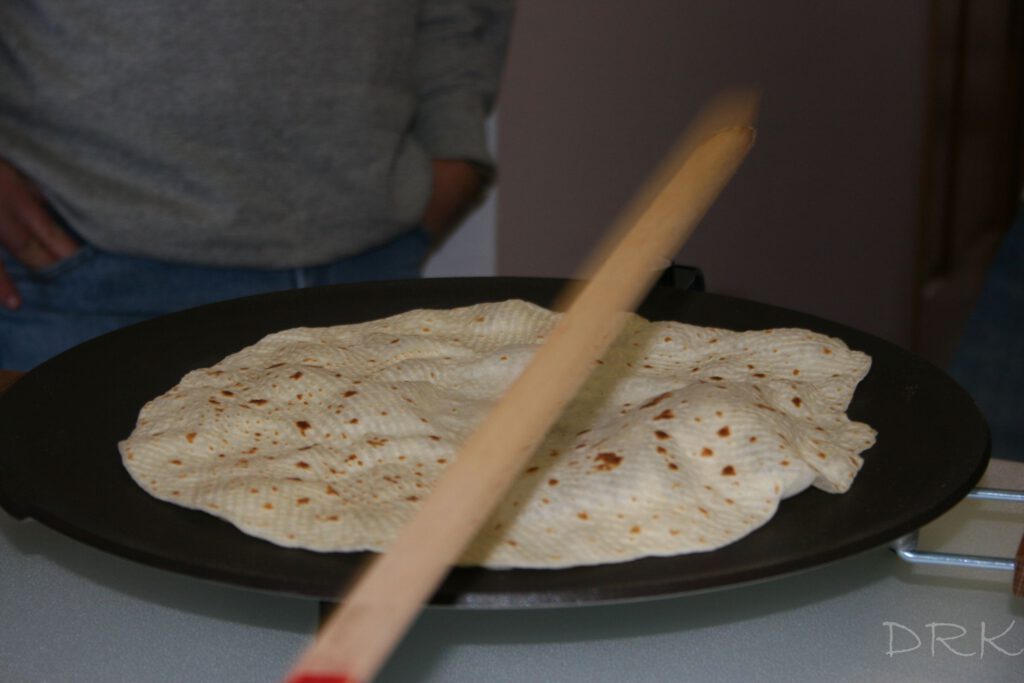
We do have a few mishaps, but we cook them anyway so that we have something to eat while we’re working.
Stacking and Cooling the Lefse
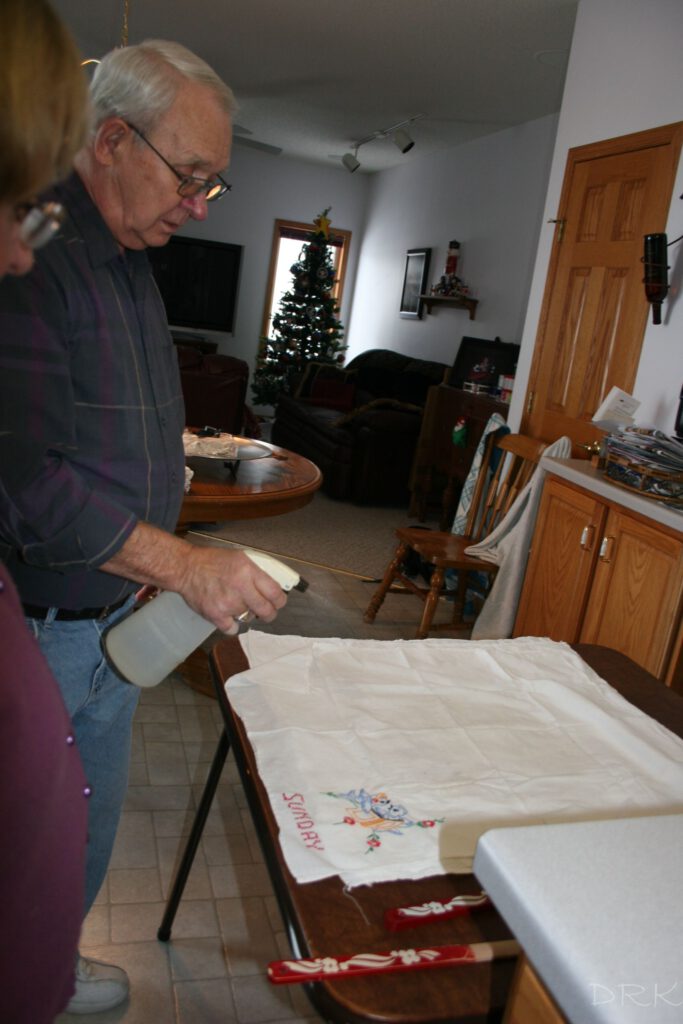
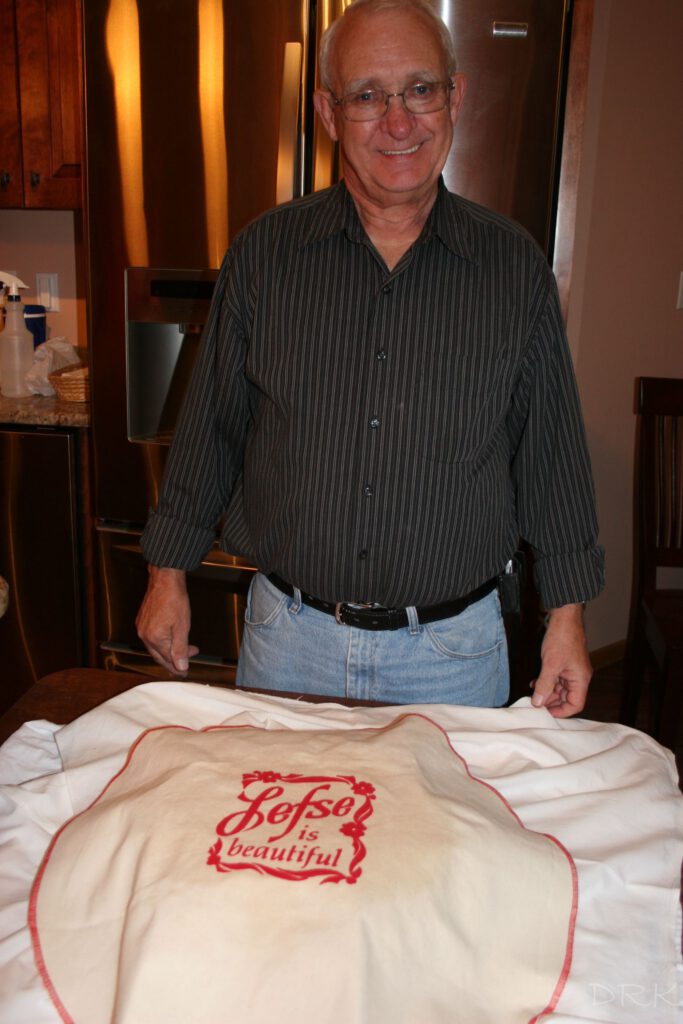
As the lefse comes off the grill, it is stacked and kept covered by a moist cloth. We usually put a new cloth after every dozen lefse. A spray bottle of water is used to keep the cloth moist. One does not want their lefse to get dry.
Cleanup
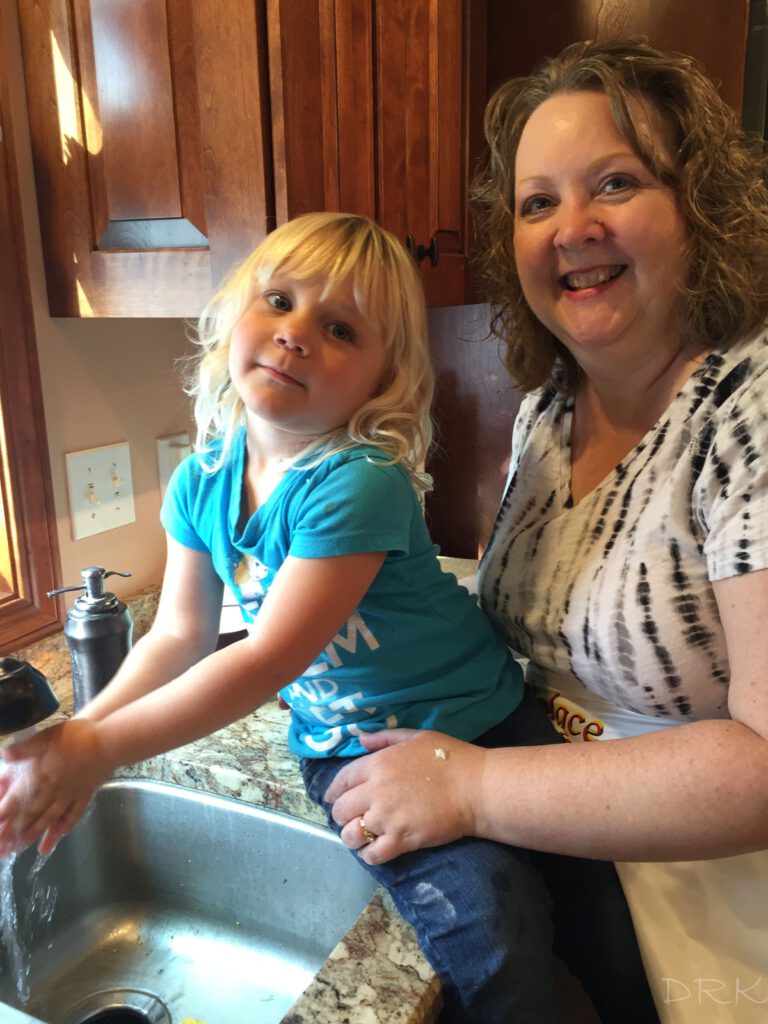
Cleaning up is not the fun part. Whoever hosts lefse-making will find flour all over their house forever!
Divide the Spoils
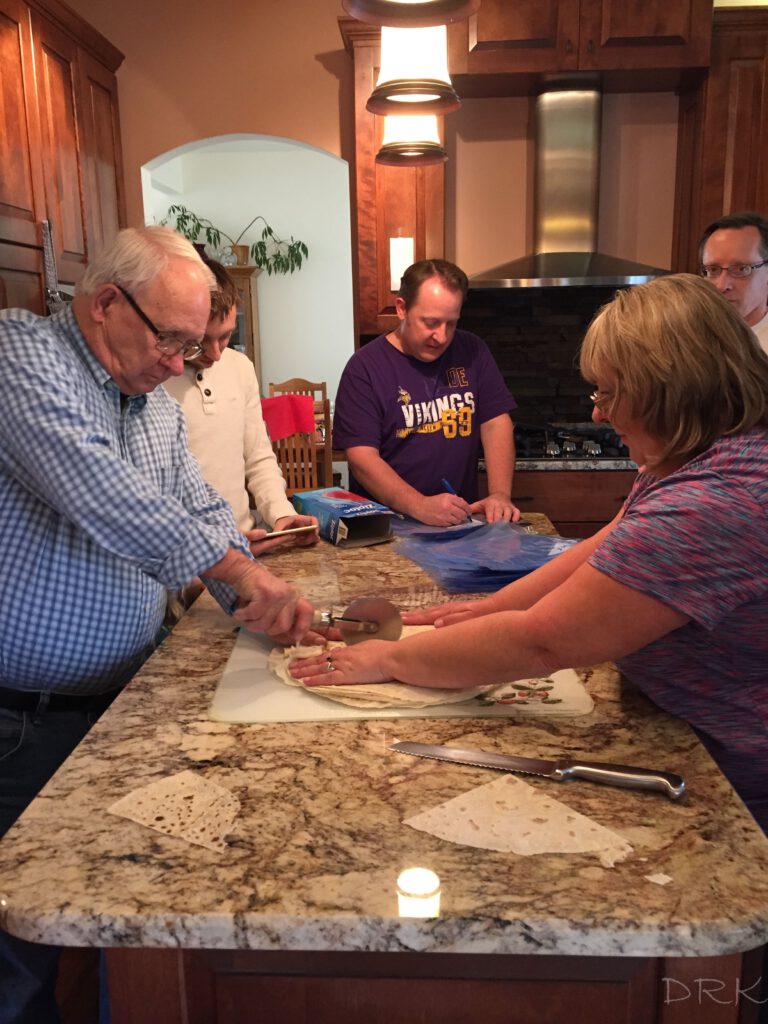
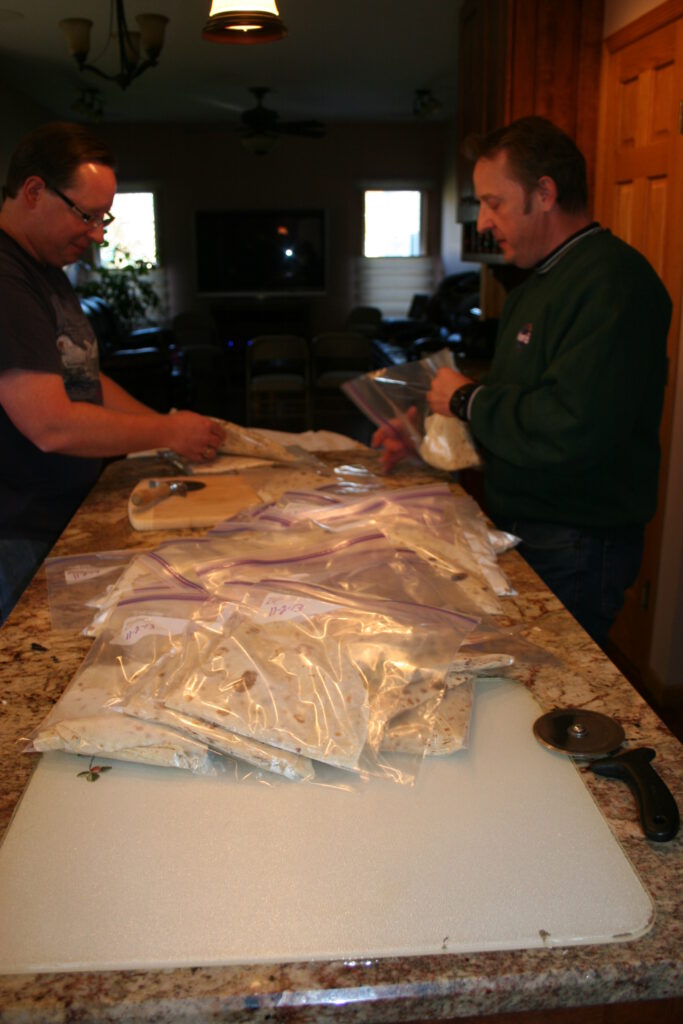
We cut each piece of lefse into quarters. This is probably not proper Norwegian technique, but we’ve found that a pizza cutter works well to cut the lefse. We package the lefse 12 quarter pieces per bag. Some lefse are put aside for Thanksgiving and Christmas dinners and then what is left gets divided amongst the lefse makers. Lefse can be frozen and then enjoyed throughout the year.
Enjoy the Lefse
Some of our lefse makers wonder why we don’t eat more of it while we are making it, but we are pretty disciplined. When we do finally eat it, we sometimes eat it, buttered, in place of a dinner roll or slice of bread at meals. Other times we eat it with butter and cinnamon/sugar or with butter and brown sugar. In any case, it is rolled up and enjoyed.
P.S. Some of you might be asking how I could write about lefse without mentioning lutefisk. My answer is simple. I am only half Norwegian. Just the lefse half!


Leave a Reply